Node.js has become incredibly popular during the past number of years. And rightfully so as it has many benefits over other programming environments.
For those new to the term, node.js is an open-sourced JavaScript runtime that can execute code outside of the standard browser environment. It uses the JavaScript V8 engine, which is the same engine that powers the Chrome browser.
The node.js runtime is typically used to write out command-line scripts and web servers. The biggest benefit of learning to work with node.js is that the front-end and back-end programming language are essentially the same, cutting down on overall development costs.
Step 1: Download and Installs Node.JS
Before you begin to do anything you need the software installed, and so let's head on over to the official node.js website and download the Node.js installer for Windows. It's a fairly straight forward download. You pick your Windows version, 32-bit or 64-bit and you download and install it on your machine.
You can also download Node.js for Mac OS and Linux as well.
After you have run through the installation process, you can open up your command line interface. In Windows, you can do that by holding the Windows key and typing 'r' (Run) and then typing cmd into the search field. Or any other way that you prefer to open up your command line interface.
Step 2: Run A Few Test Commands
Let's first test that Node.js installed correctly by running a few commands. In your terminal window, simply type the node command and you should instantly be switched over to the node interactive mode.
You can essentially type and run any JavaScript code in this mode and see the output directly in the terminal.
Node.js comes built in with npm, which is a JavaScript package
manager. If everything installed correctly then you should see the
following screen when you type the npm command.
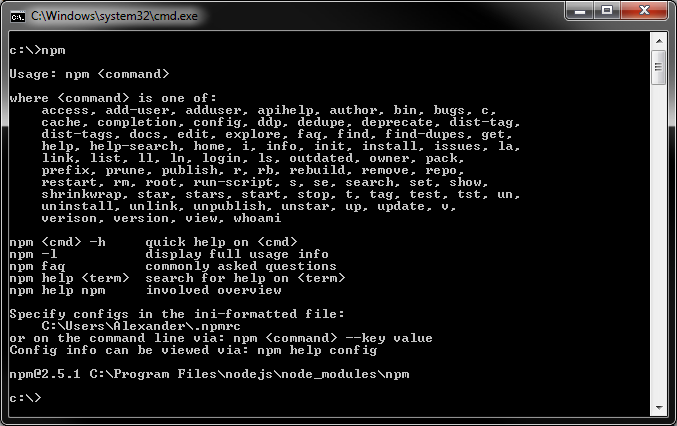
npm command screen
If both of these commands are working for you, then you have a successful Node.js install.
Step 3: Load A JavaScript File
We can also pass JavaScript files into Node.js as well, which is probably how we'll mainly be working with Node.js in most real-world projects. For example here is a quick file I made which I titled "testnode.js" with the following content.
var a = 1;
var b = 2;
var c = 3;

console.log("a: " + a);
console.log("b: " + b);
console.log("c: " + c);

console.log("a + c: " + (a + c));
You can run this script in the terminal with the following command:
node testnode.js
And here is what that looks like when we run it:
As you can see Node read the file and executed all of the commands present right on my machine no browser required.
Step 4: Run The Interactive Tutorial
The best way to learn is by doing, and NodeSchool.io has a fantastic Node.js interactive tutorial that you can download and install through the npm package manager that will show you the basic use cases and scenarios that you will encounter when using node.js. So let's set that up. Go into your command line, like we did above, and type the following command:
npm install -g learnyounode
Let your command buzz and whir for a minute or two (it took a while on my machine) after this while everything gets installed. Once done, simply run the tutorial with the following:
learnyounode
And you'll get the following. A series of 13 interactive tutorials to help you wade your way through the many intricacies of Node.js. After you complete each exercise, your result will be verified and upon completion will be marked as "Complete". Pretty nifty if you ask me. So let's run through the first exercise on the list while we're here.
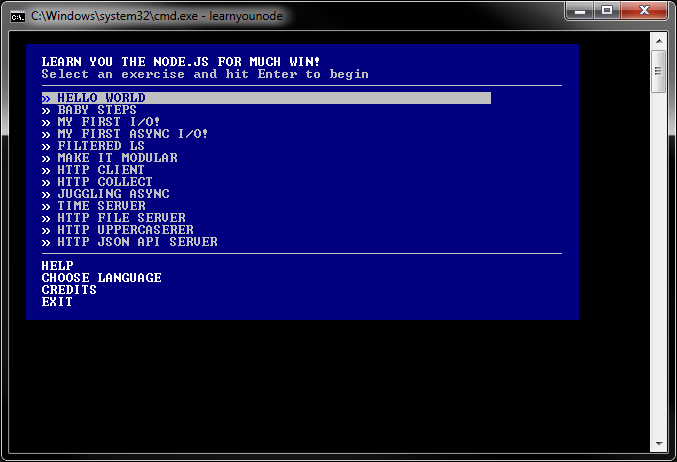
learnyounode home screen
Exercise #1
The exercises start off pretty simple and get progressively more complex as you complete them. Here's the first exercise, in which our task is to output "HELLO WORLD" using node.js onto the console window.
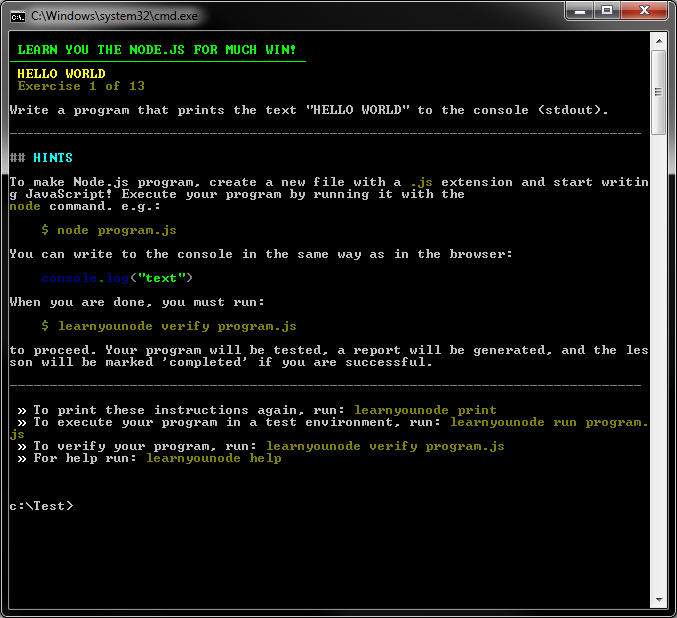
learnyounode exercise 1
The solution here is simply to create a new JavaScript file, title it program.js and have the following inside of it. And yes, we can use the standard JavaScript output methods in Node.JS to view the results, which is pretty cool.
console.log("HELLO WORLD");
Save that, and place it in a directory that's easy to reach from the command line (something close to the C:/ drive perhaps) and we run that script using the learnyounode verify program.js command and we are done with Exercise #1.
By the time we're done with all of the exercises we'll be running our own server written in Node and doing many more cool things. I'm only going to cover Example #1 and leave the rest of the exercises up to those who enjoy learning for themselves. And I myself will be tackling on more complex node examples while I'm at it. And I'll have a follow up soon as to how that is going.
Walter Guevara is a software engineer, startup founder and currently teaches programming for a coding bootcamp. He is currently building things that don't yet exist.
Stay up to date
Sign up for my FREE newsletter. Get informed of the latest happenings in the programming world.